Pick one joint in your house and watch it: the horizontal seam where a bathtub or shower pan meets the tile wall. It is maybe five feet long. It moves every time someone stands in the tub, because the tub deflects under load and the wall does not. Sealant there is a consumable, like a furnace filter, and it is the only thing between the shower and the wall cavity behind it.
Nobody schedules it. That is the whole problem.
What follows is that one seam, treated as a maintenance item with tools and a paper trail, because the difference between a two-hour job and a demolition job is almost entirely a matter of when you noticed.
How the failure actually progresses
Sealant does not blow out in a single dramatic moment. It hardens, loses elasticity, and separates from one face of the joint. The gap is often narrower than a business card and hidden by the lip of the tub. Water does not pour in. It wicks in, a small amount per shower, and the wall cavity dries more slowly than it wets.
The order of events is predictable. First the grout above the joint darkens and stays dark between uses. Then the caulk edge lifts when you press it with a fingernail. Then the drywall or backer board behind the bottom course of tile softens, and tile starts to sound hollow when tapped. By the time the floor outside the tub feels spongy or a stain appears on a ceiling below, water has been moving for months, sometimes a year or more.
Every one of those stages is visible or audible before it is expensive. The Environmental Protection Agency is the federal body responsible for guidance on moisture and mold in buildings, and its consistent message is the boring one: control the water and the rest does not start.
The tools, and they fit in a shoebox
You do not need a kit. You need six things, and five of them last for years.
- A utility knife with fresh blades and a plastic caulk removal tool. Removal is ninety percent of the job. New sealant over old failed sealant fails again on the same schedule.
- 100 percent silicone sealant rated for kitchen and bath, with mildewcide. Not acrylic latex, not "siliconized." Silicone stays flexible through the tub's movement. It will not take paint, which does not matter in a shower.
- A decent caulk gun with a smooth rod rather than a ratchet, so you can stop the bead where you want it.
- Painter's tape in a narrow width, run above and below the joint. Two strips turn a shaky bead into a clean one.
- Denatured alcohol and lint-free rags for the surface. Silicone bonds to clean and dry, and to nothing else.
- A flashlight you hold low and sideways. Raking light across the seam shows separations that overhead light hides completely.
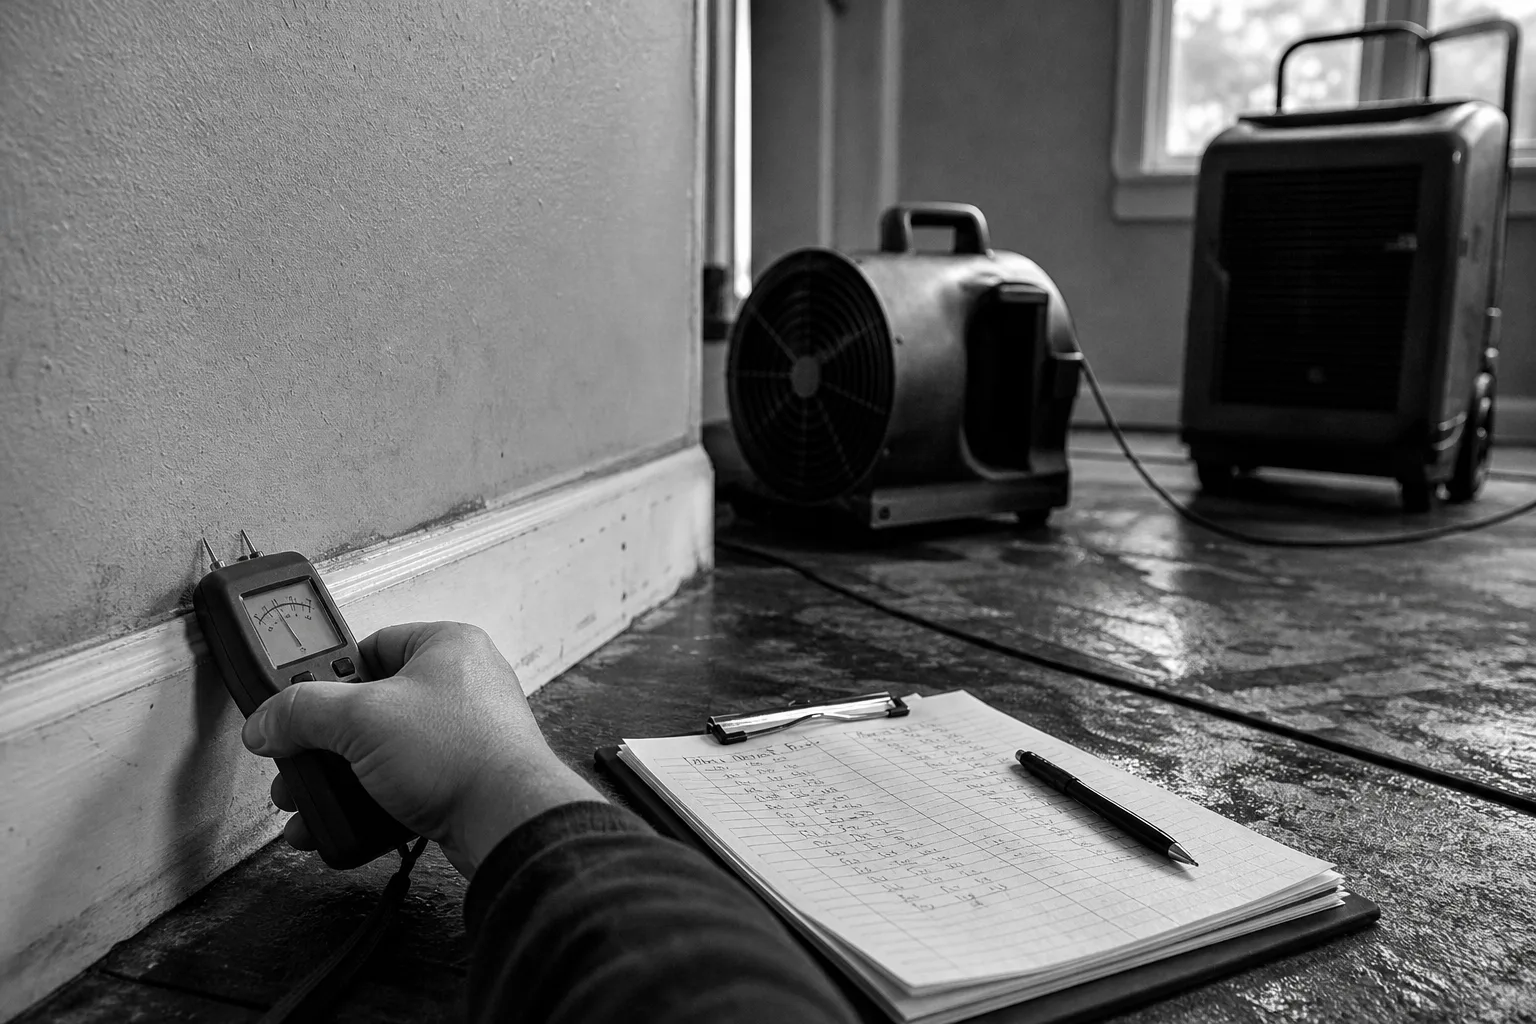
A pinless moisture meter is optional and useful if you have already had one leak. It reads relative moisture through tile and drywall without making a hole, which lets you compare the wall under the shower head to a wall across the room. You are looking for a difference, not an absolute number.
Fill the tub with a few inches of water before you cut out the old sealant, and leave it there while the new bead skins over. The tub sits at its loaded position, and the joint cures at its widest. Drain it after. Then leave the shower unused for as long as the cartridge says, which is usually longer than the label's headline number.
The paperwork is three pages
This is the part that converts a chore into a system, and it is the part people skip.
Page one: a one-line maintenance log. Date, what you did, what you observed. "Recaulked tub/wall seam, west bathroom. Grout above joint still light. No hollow tile." That is the entry. A cheap composition book in the linen closet beats a spreadsheet you will not open.
Page two: dated photographs. Shoot the full seam and two close-ups from the same positions every time, and let your phone stamp the date. A photo set going back three years is the only way to know whether that gray shadow in the grout is new. Memory is useless here, and photographs are what an adjuster, a home inspector, or a buyer's agent will actually accept.
Page three: the receipts and the model information. Sealant receipts are trivial, but the same folder should hold the tile or tub installer's invoice, any workmanship warranty and its expiration, and a note of your homeowners policy number. Policies commonly treat sudden discharge differently from long-term seepage, so a log showing regular inspection is evidence about which one you had. Keep it in the same place as the water heater manual and the furnace filter sizes. One folder, one drawer.
What the numbers look like, and what moves them
I will not give you a dollar figure for a repair I cannot see. I can give you the shape.
The sealant itself is a single-digit purchase, and the job is one evening including cleanup. Nothing about it scales with your house. The next tier up, replacing softened backer board and resetting the bottom courses of tile, is a tradesperson's day or two plus materials, and the cost is driven by whether your tile is still available and whether the tub has to come out to do it. That last question is what separates a modest invoice from a large one, because a tub removal usually takes the surround and sometimes the plumbing with it.
Above that tier, the variables stop being about the bathroom. Subfloor and joist repair depends on the framing, the span, and access from below. Whether a finished ceiling downstairs is involved roughly doubles the surfaces in play. None of this is knowable from a photograph, which is precisely why the cheap version is worth doing on a calendar rather than on discovery.
Twice a year, look at the seam with a raking flashlight. Once every year or two, cut it out and redo it. Write the date down.
The log is the asset. The caulk is just caulk.